Today we're introducing the next step in making online gameplay functionality and player management easier for developers with our new plugin for the Godot game engine.
The Godot game engine is a powerful open-source (like us!) tool for building 2D and 3D games using GDScript or C#.
In May 2023 we took the leap into the Godot world by building our first Godot game for Ludum Dare 53. We were blown away by the simplicity and the intuitive design of the engine. Picking up this new engine to make a game in 72 hours couldn't have been easier.
Since then we've made two more games (both in 72 hours) using Godot and built up our knowledge in order to bring the power of Talo to the Godot engine. Our Godot plugin has access to all the features that make building games with Talo even faster - including leaderboards, player management, event tracking, stat tracking, saves, live config and more!
TL;DR
- What's new? We've released a new plugin for the Godot game engine.
- What's changed? You can now easily add leaderboards, player management, event tracking, stat tracking, saves, live config and more to your Godot game.
Getting the plugin
The Talo Godot plugin is available directly on the Godot Asset Library - this means you're able to easily add it to your game from inside the engine (see below). The plugin is also available on our itch.io page where you'll find the latest updates directly as they're released.
Next we'll talk about how to setup the plugin. Make sure you refer to the Talo Godot plugin documentation too as some steps may have changed since the time of writing.
Setup using the Godot Asset Library
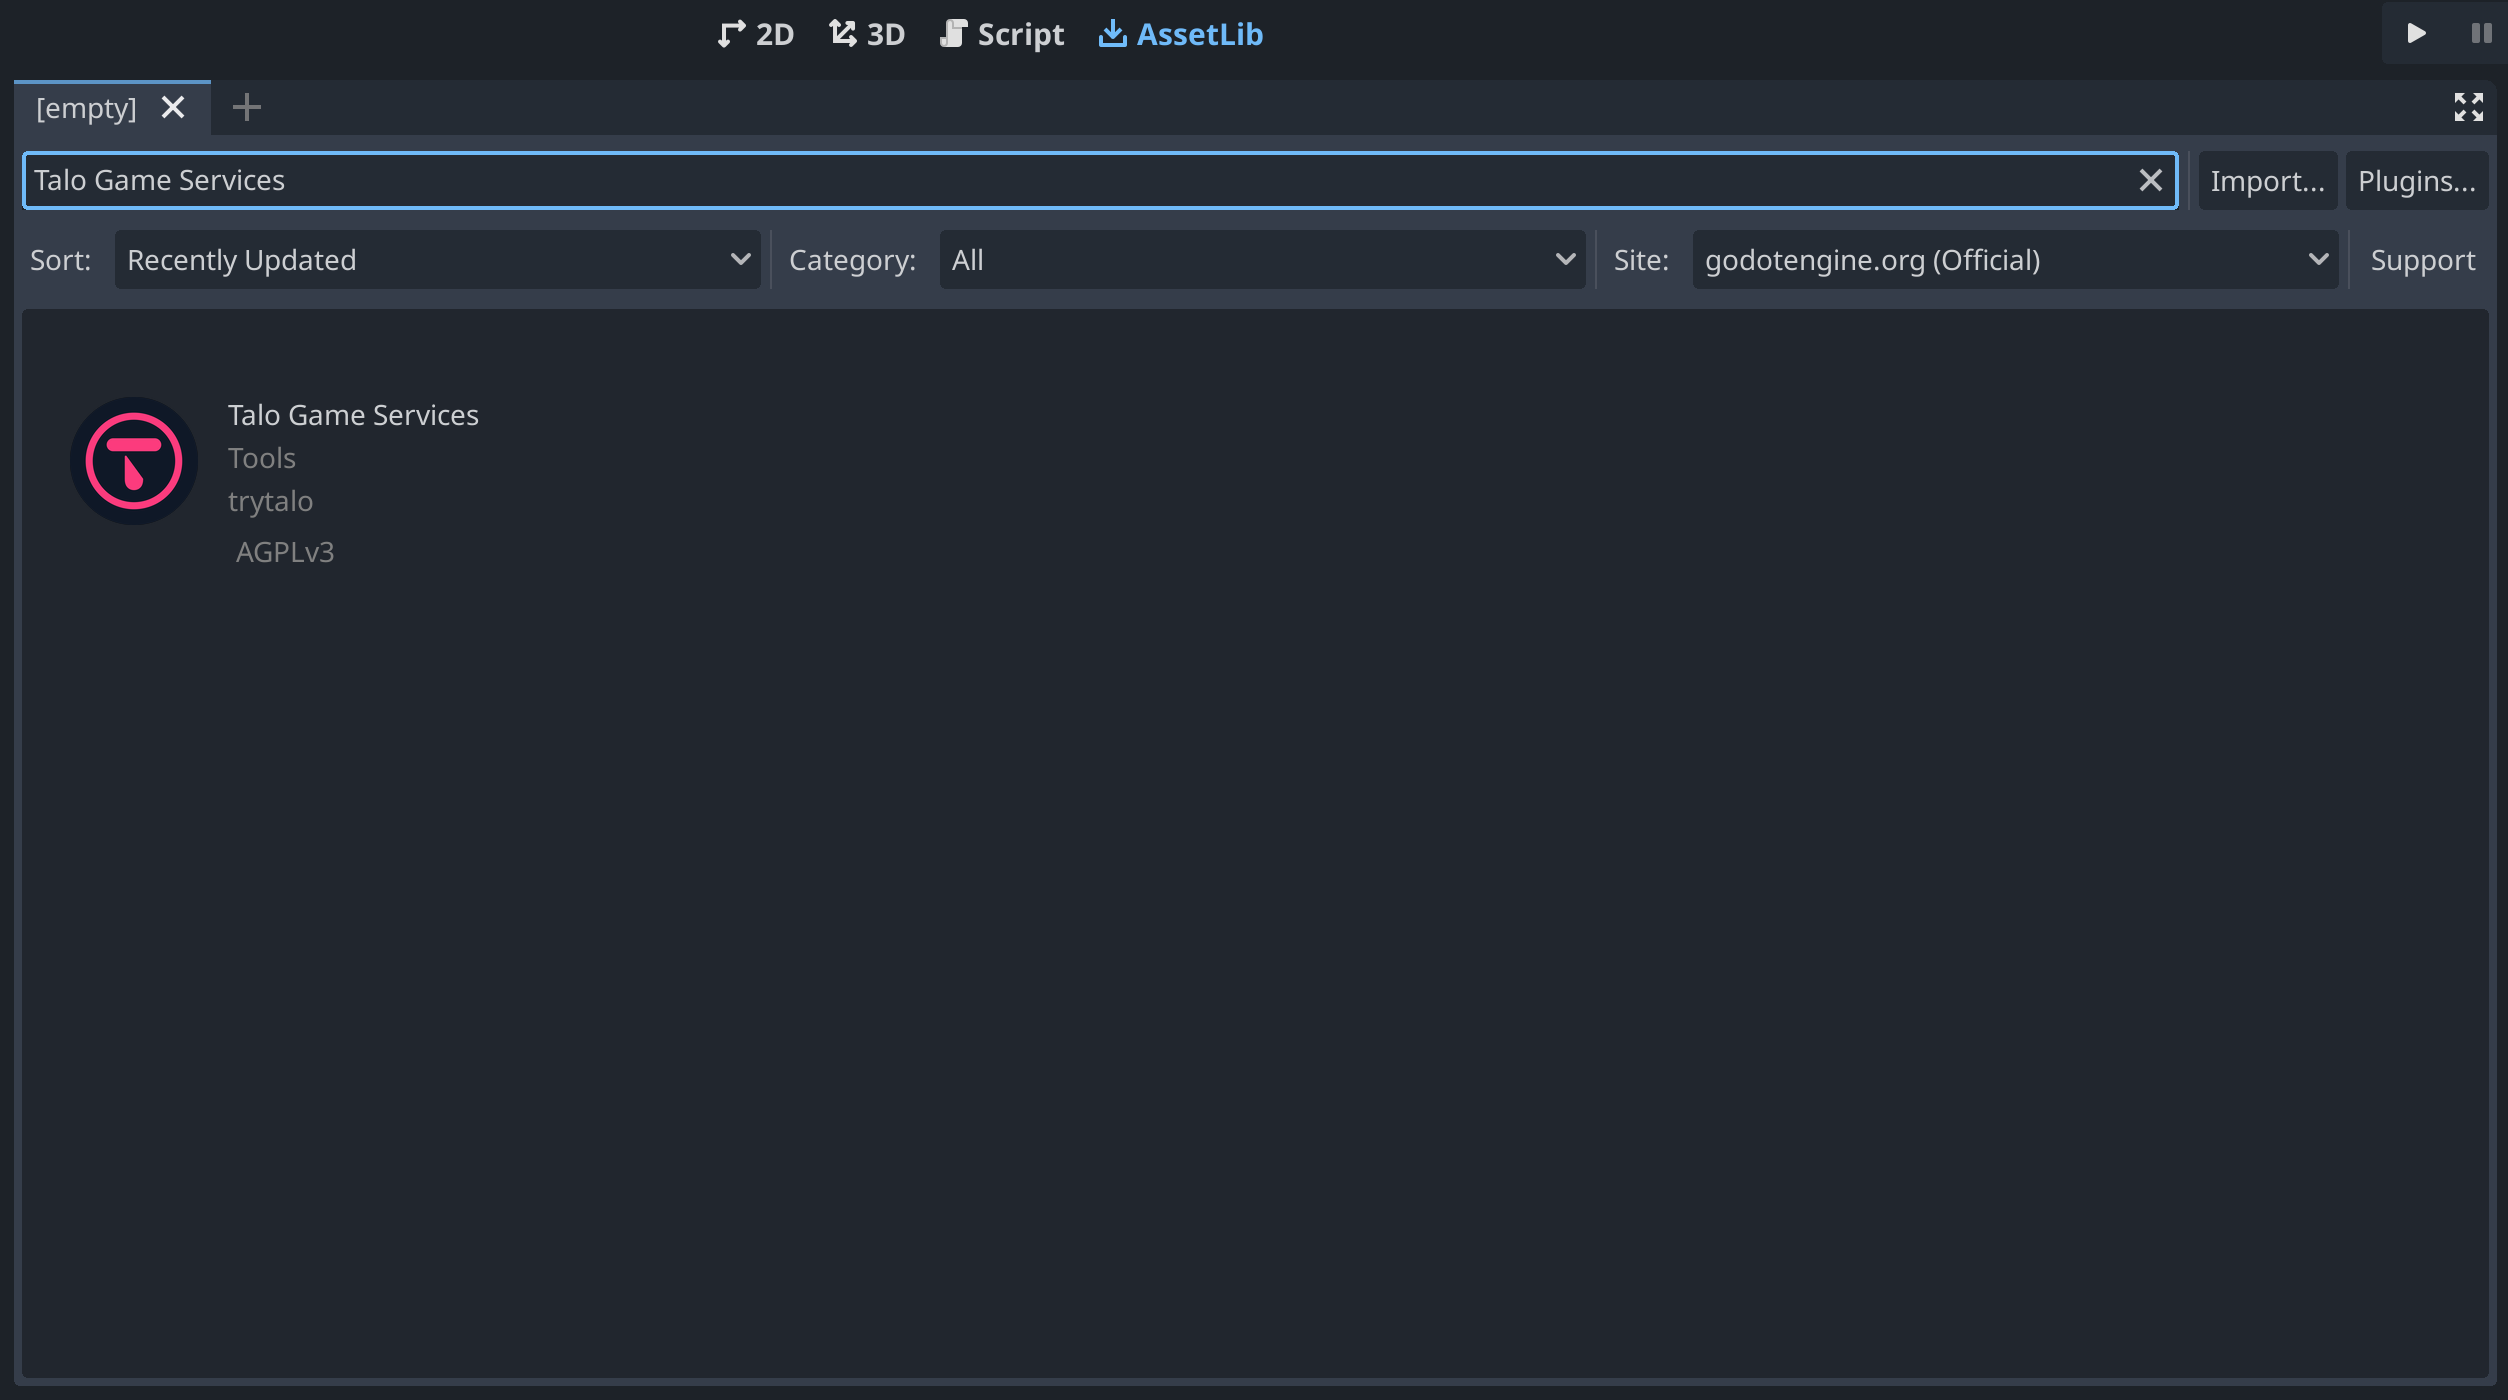
To download the plugin from the Asset Library, simply open your Godot editor and select the AssetLib tab. From there, search for "Talo Game Services" (by trytalo), click into the asset and hit Install. Typically you want to install plugins under the addons folder.

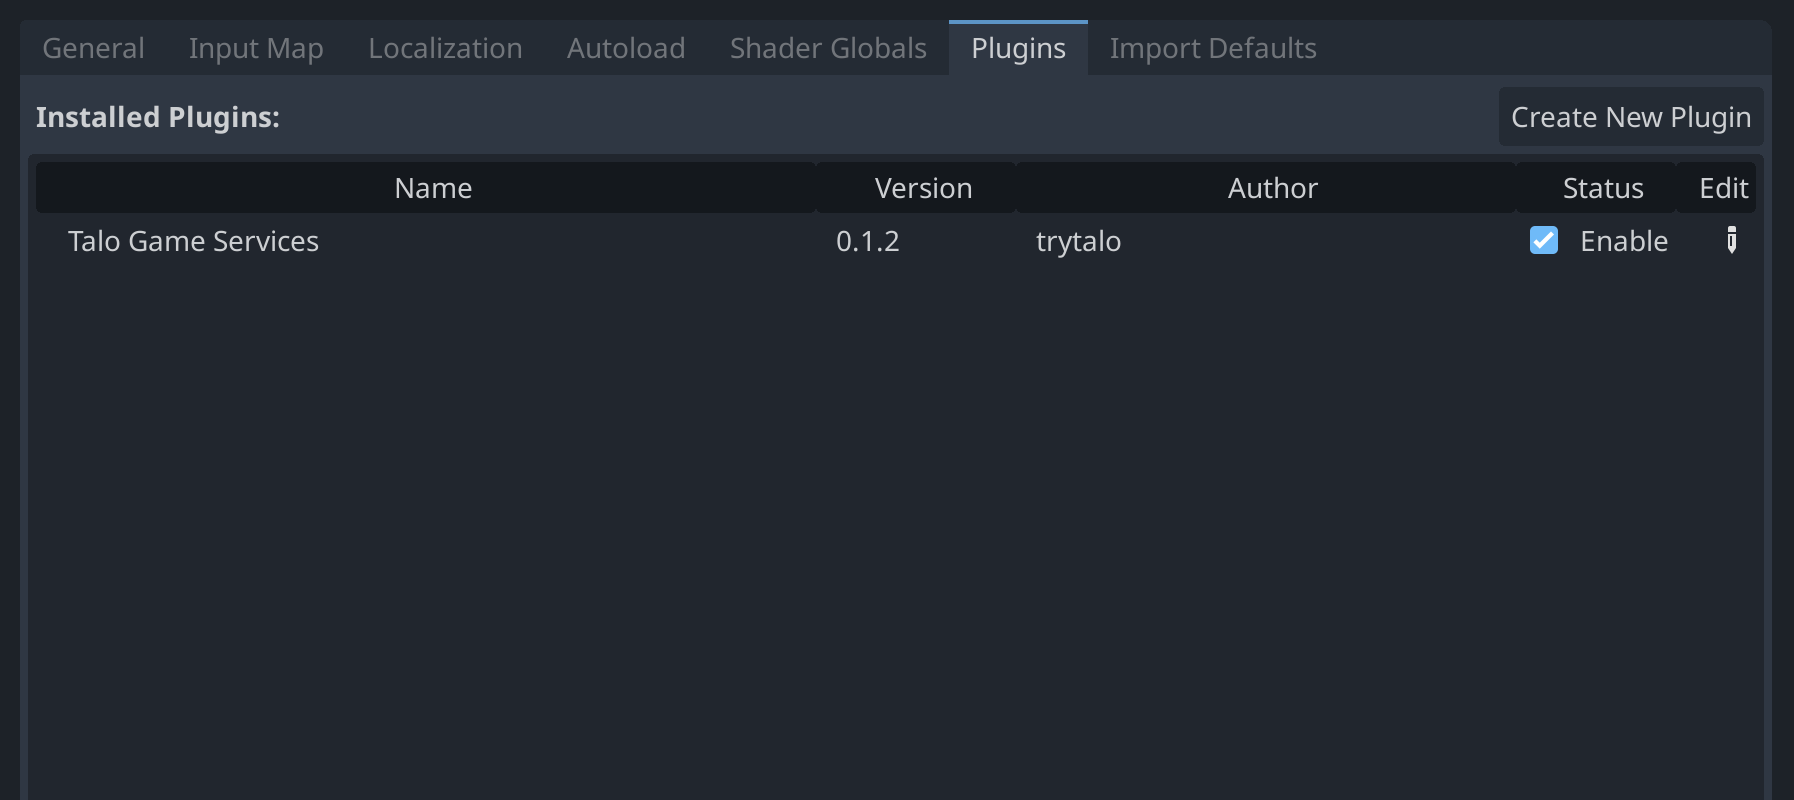
Once you've installed the asset, you'll need to enable it in the Project > Project Settings > Plugins window before you can start using it:

You can now run your game - this will create a settings.cfg asset inside the folder where you installed the plugin. To learn more about how to configure Talo, including how to configure your self-hosted version, check out the docs.
Setup using the itch.io download
If you're downloading the plugin from our itch.io page, you can simply unzip the file and copy the contents to the addons/talo folder.
Remember to also enable it and run your game to generate the config file as shown above!
Generating an access key
Visit the Talo dashboard, login or create an account (and confirm your email address). Once logged in, create a new game (if you need to) and visit the Access Keys page.
Choose the scopes available to your access key (you'll need the read:players and write:players scopes to use the plugin) and create your access key. Copy your newly-generated access key into the access_key field of the settings.cfg.
The Talo Playground
Included with the plugin is a scene called the "Talo Playground" within the samples/playground folder. Here you'll be able to find lots of different usage examples for the Talo Game Services - including a robust save system (with offline save support), leaderboards, player management and event tracking.
Using the Talo Playground requires you to have your access key set up and for your player to be identified. You can customise the way your player is identified by clicking into the Identify button in the scene (look for IdentifyButton using the scene search) and updating the Service and Identifier fields.
Each button within the Playground has a sample script attached which can be found under samples/playground/scripts. We'll be keeping the Talo Playground up to date with the latest developments from the API.
Next steps
Since the Talo Godot plugin is brand new at the time of writing, we'll be keeping an eye out for feedback from the community. Make sure to reach out to us on our Discord or via our GitHub repository (we're a fully open-source project, contributions are encouraged!)
We'll be using the plugin in our own games to make sure the APIs are as intuitive and reliable as possible. We'll also be adding more example scenes that you can copy into your own game - for example a more in-depth save system and a practical leaderboards example. Stay tuned for updates via our GitHub releases, the Asset Library or our itch.io page!
Build your game faster with Talo
Don't reinvent the wheel. Integrate leaderboards, stats, event tracking and more in minutes.
Using Talo, you can view and manage your players directly from the dashboard. It's free!
Get started
More from the Talo Blog

Changelog: Player Relationships API and dashboard UX
Build friends lists, followers and other social features with Talo's new Player relationships API.

Collecting Player Feedback in Godot with Talo
Learn how to collect structured, contextual player feedback in your Godot game using categories and props with the Talo Godot plugin.

Friends list & messaging API now live for Godot & Unity
Build friends lists, follower systems and real-time player messaging with our new Player Relationships API. Create social features for your Godot or Unity game without writing your own networking code.

2025 Year in review: release highlights from Talo
Highlights from all the major Talo releases in 2025, plus a sneak peek at the new player relationships API